
Alright so i took the ruff Ivan idea i drew last time and tried to give him a little more interest and style... Here is the process and what I have so far. I have more to do, but I thought i'd show my progress thus far.
This first image is the ruff body type I came up with. I did this sketch in photoshop on an 8.5 x 11 inch canvas at 300 dpi. In this case i used a 5pt round brush. Shape dynamic is set to pen pressure (so I can control the weight and size by the pressure of my hand.) I think i set the opacity to around 75%, just so the line didn't get too black either.
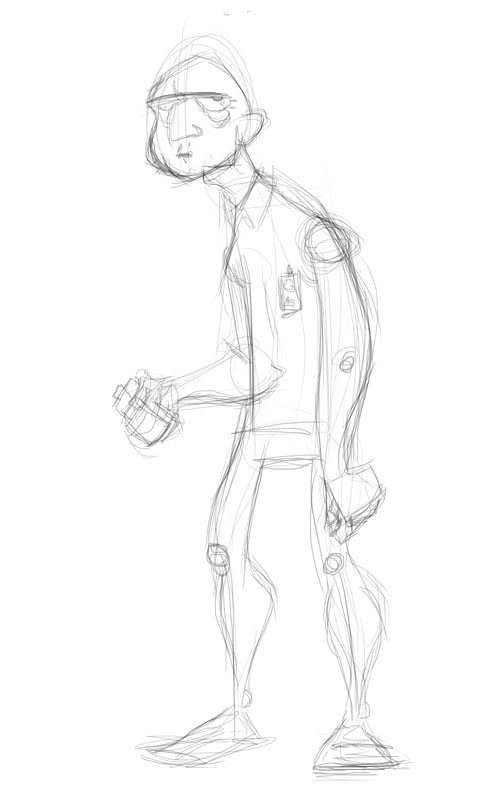
Once I had the body type, I started filling in the details and clothing. As I developed the details i would flip the image back and forth, tweaking proportion and making changes as I worked.

I find it far to difficult to get smooth clean lines digitaly. I'm much more comfortable cleaning up a sketch with a good ol' pencil. So when I was happy with the ruff, I printed out the image reduced to 20% opacity. As for the pencil I used to do the actual clean up, it was a Faber-Castell red colored pencil with a nice sharp point.

At this point I usually switch to a blue color pencil and go over the image one more time, to tighten the image up even more. In this case though, I rescanned my art and printed it again at 20% opacity. Because the reprinted line art is so light after printing it, i didn't need to use a different color and so just went over the image again with the red pencil. Otherwise the blue pencil and be easily separated from the ruff red pencil in photoshops channels.

This last image is fairly clean. I still need to go over it in photoshop to remove some dust and noisy pencil lines (you can see area like the hands are a little fuzzy.) So next is the digital cleanup and then comes the coloring...
Hope this explanation of my process is helpful. Let me know your thoughts.